Click here!

You can find here all the compatible Receivers and Parts in the RadioMaster MT12 Surface Radio Controller Collection.
Check out all our Radios and the rest of our RadioMaster Products


How to use
1. Settings related to MT12 Radio
Press the “SYS” button and use the “PAGE” button to navigate to the “HARDWARE” menu. Set “S3” and “S4” under “Pots” to “Axis X” and “Axis Y”, respectively, as shown in the diagram below:

*Arrows behind Axis X and Axis Y represent the direction settings. After selecting with the scroll wheel, you can press the scroll wheel to modify the direction.
2. Calibration in MT12.
Press the “SYS” button and use the “PAGE” button to navigate to the “HARDWARE” menu. Enter the “[Calibration]” menu to calibrate. The calibration method is the same as the process for calibrating other inputs on MT12. At the “SET AXIS MIDPOINT” step, place the MT12 on a table and keep it level, then press the scroll wheel to calibrate the neutral point. At the “MOVE AXIS/POTS” step, in addition to calibrating the maximum values of the existing directions and throttle, you also need to pick up the MT12 and move it back and forth and side to side, with angles greater than 45 degrees.
3. Input menu settings.
Press the “MDL” button, then use the “PAGE” button to navigate to the “INPUT” menu. You must bind the gyro output to two input channels in this menu. For example, bind Axis X (S3) to “I09” and Axis Y (S4) to “I10”. For “I09” as an example, enter the “Edit” menu of input channel 09. Select “Source” and press the scroll wheel, which will cause it to blink. At this point, tilt MT12 left and right, and the system will automatically switch the input source to “Source S3”, as shown in the diagram below:

4. Mixer menu settings.
Press the “MDL” button, then use the “PAGE” button to navigate to the “MIXER” menu. In this menu, you need to bind the gyro inputs to the actual receiver output channels. For example, use left-right tilting (Axis X) to control channel 3, and use forward-backward tilting (Axis Y) to control channel 4. For channel 3 as an example, enter the “Edit” menu for channel 3. Select “Source” and press the scroll wheel, which will cause it to blink. At this point, tilt MT12 left and right, and the system will automatically switch the input source to “I09”, as shown in the diagram below:

Gyro Sensor Calibration
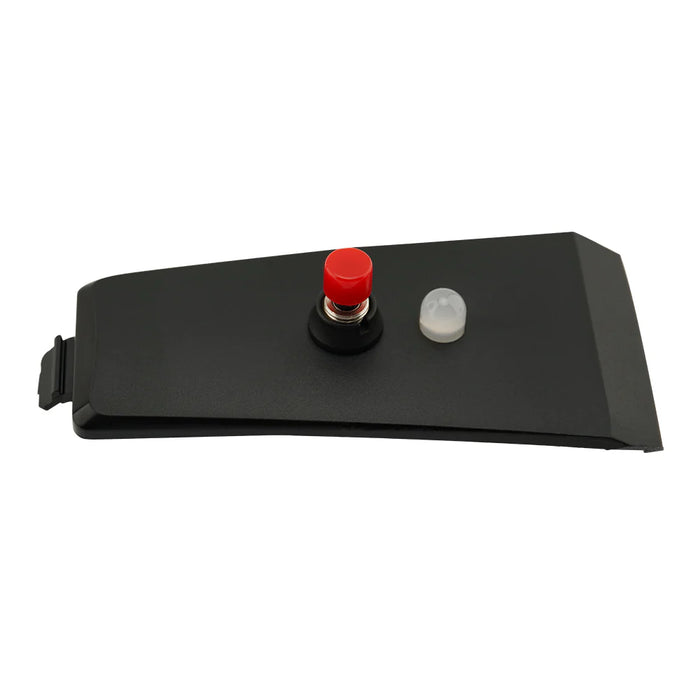
To accommodate different users' holding gestures, you can calibrate the sensor's neutral point by pressing and holding the red button for 2 seconds. During calibration, the red light will flash. A steady green light indicates normal operation.
{"one"=>"Select 2 or 3 items to compare", "other"=>"{{ count }} of 3 items selected"}